0121 456 7800

GETTING STARTED WITH SPEECHLIVE & ZAPIER: CREATE A SPEECHLIVE ZAP
- Zapier connects more than 1000 web applications
- "Zaps" are workflows that connect your apps in order for them to work together
- A "trigger" is the event that happens in one of your apps to kick-start a workflow
- An "action" is the event that completes the Zap
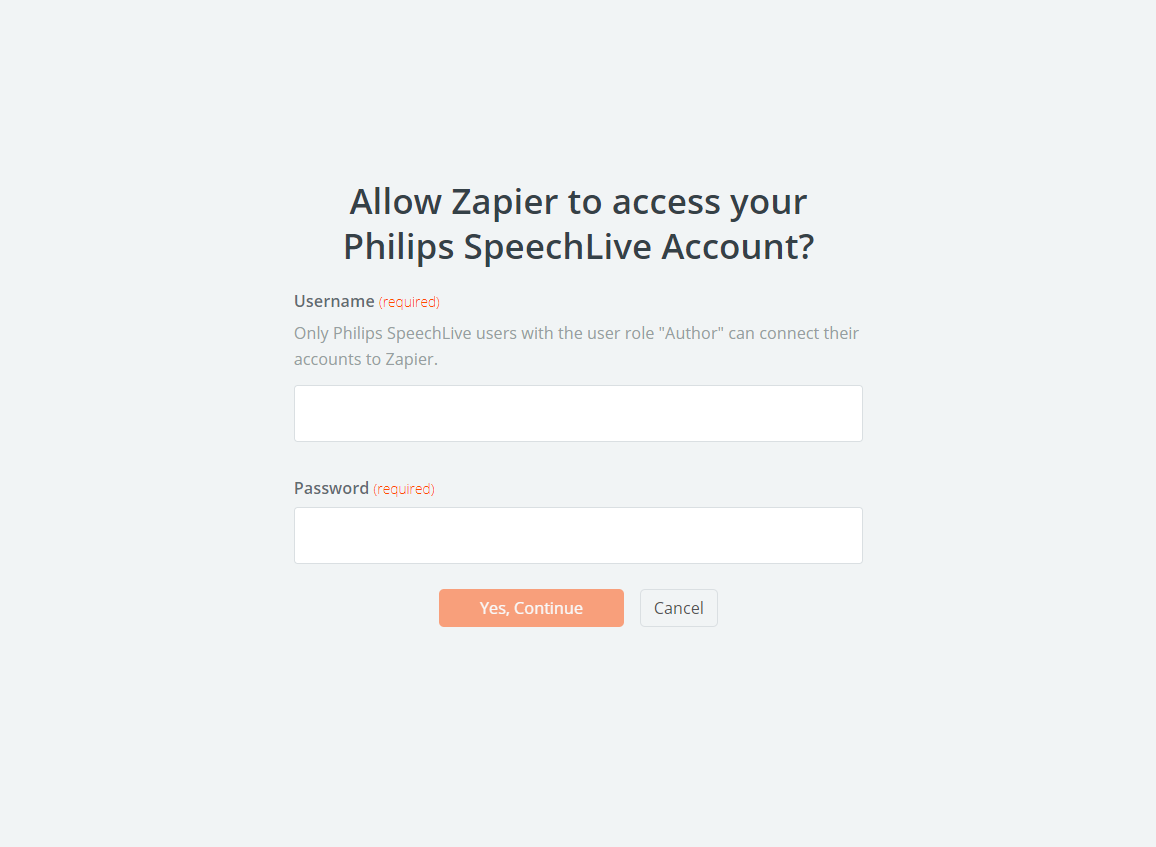
Zapier & SpeechLive Now with access to over 1000+ apps, the possibilities are seemingly endless and as time goes on SpeechLive users are sure to find more and more ingenious opportunities to optimise and customise workflows. With a little bit of creativity, you can make Zapier & SpeechLive work for you almost any way you want to. Record your speech - receive your transcription - use it wherever and however you see fit with other Zapier enabled web applications. Getting Started: How to set up Zapier and SpeechLive Step 1 - Connect your SpeechLive account to Zapier. Simply find the "Philips SpeechLive" Zap on Zapier and select "Connect Account". 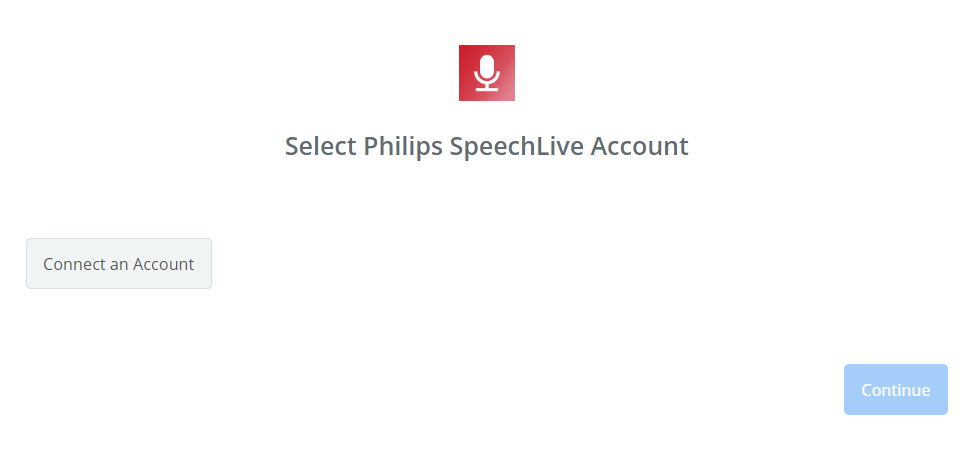 Step 2 - When you have clicked on "Connect an account" you will be prompted to enter your SpeechLive username and password.
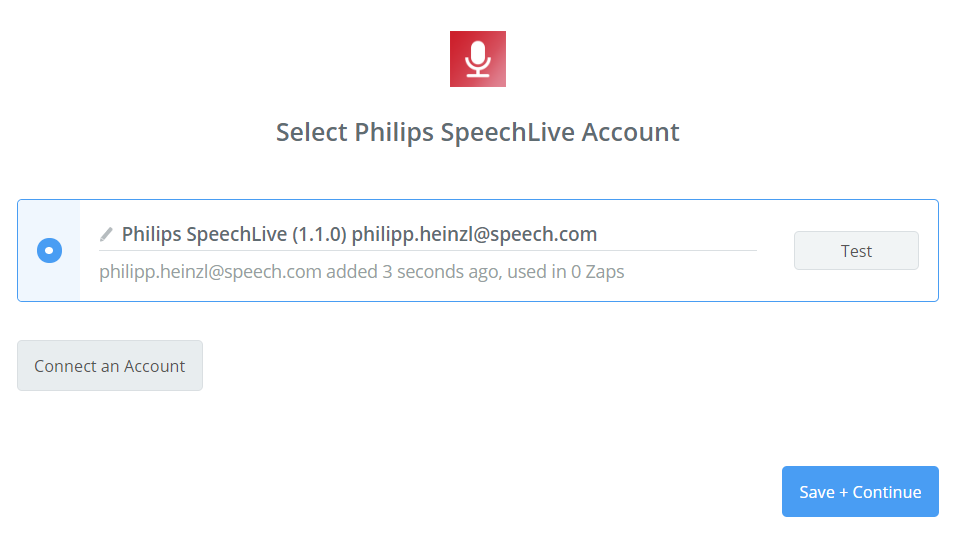
  Step 3 - Once connected, you will be located back to your "Zap" with SpeechLive successfully connected for you to start automating actions within other apps.
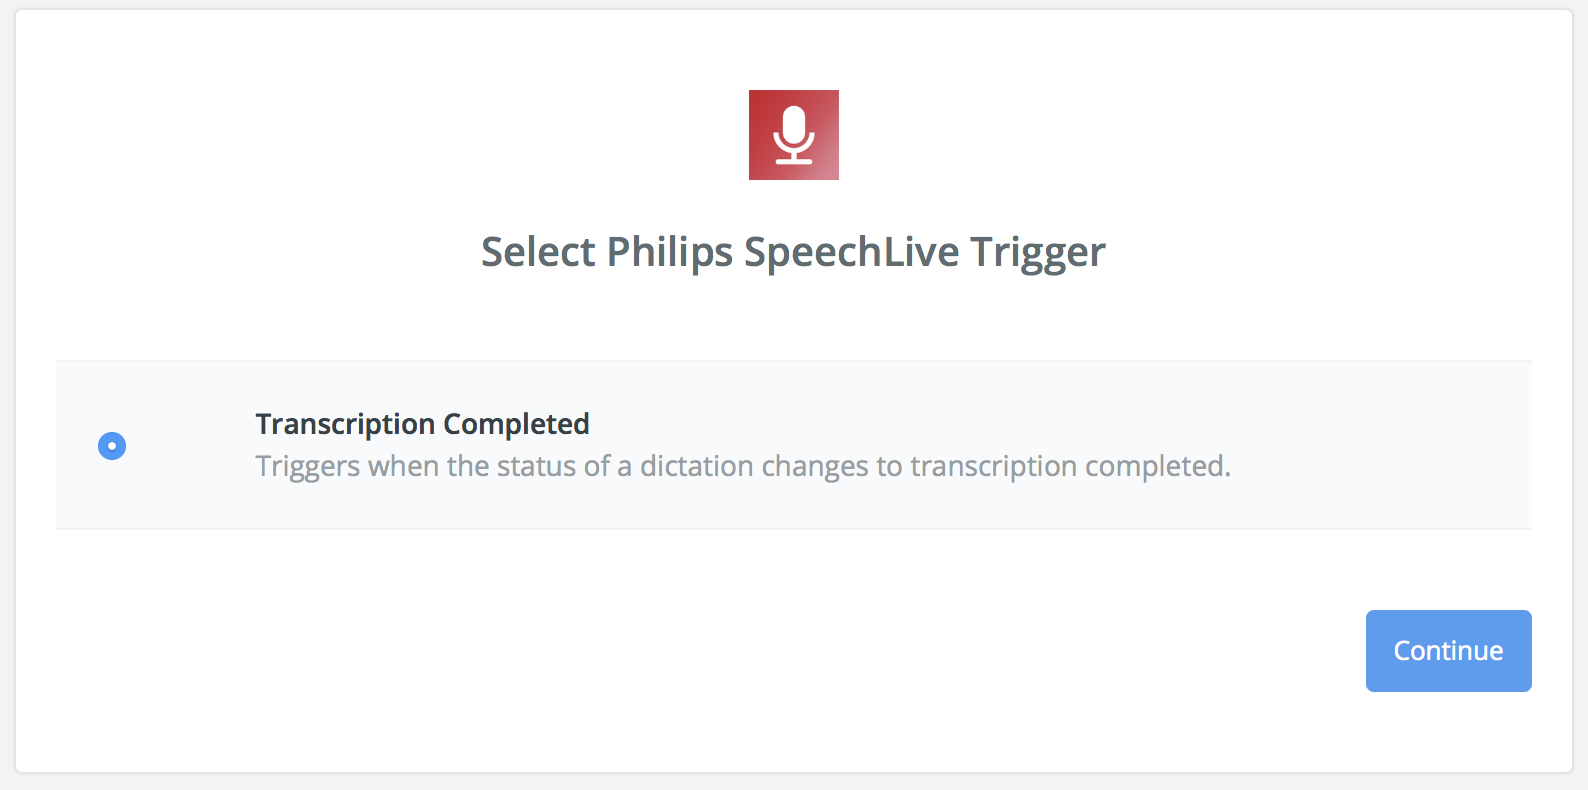
Once connected, Zapier makes it easy for you to get started right away. The trigger in SpeechLive is "Transcription Finished"; so for example, you could record your voice notes, send them for transcription via the Speech Recognition Service and once the transcription is completed you can choose a suitable app within which the action can be carried out. Zapier also offers rules and options for easy customisation, testing and implementation for all of your Zaps - making it easy and enjoyable to try out different workflows.
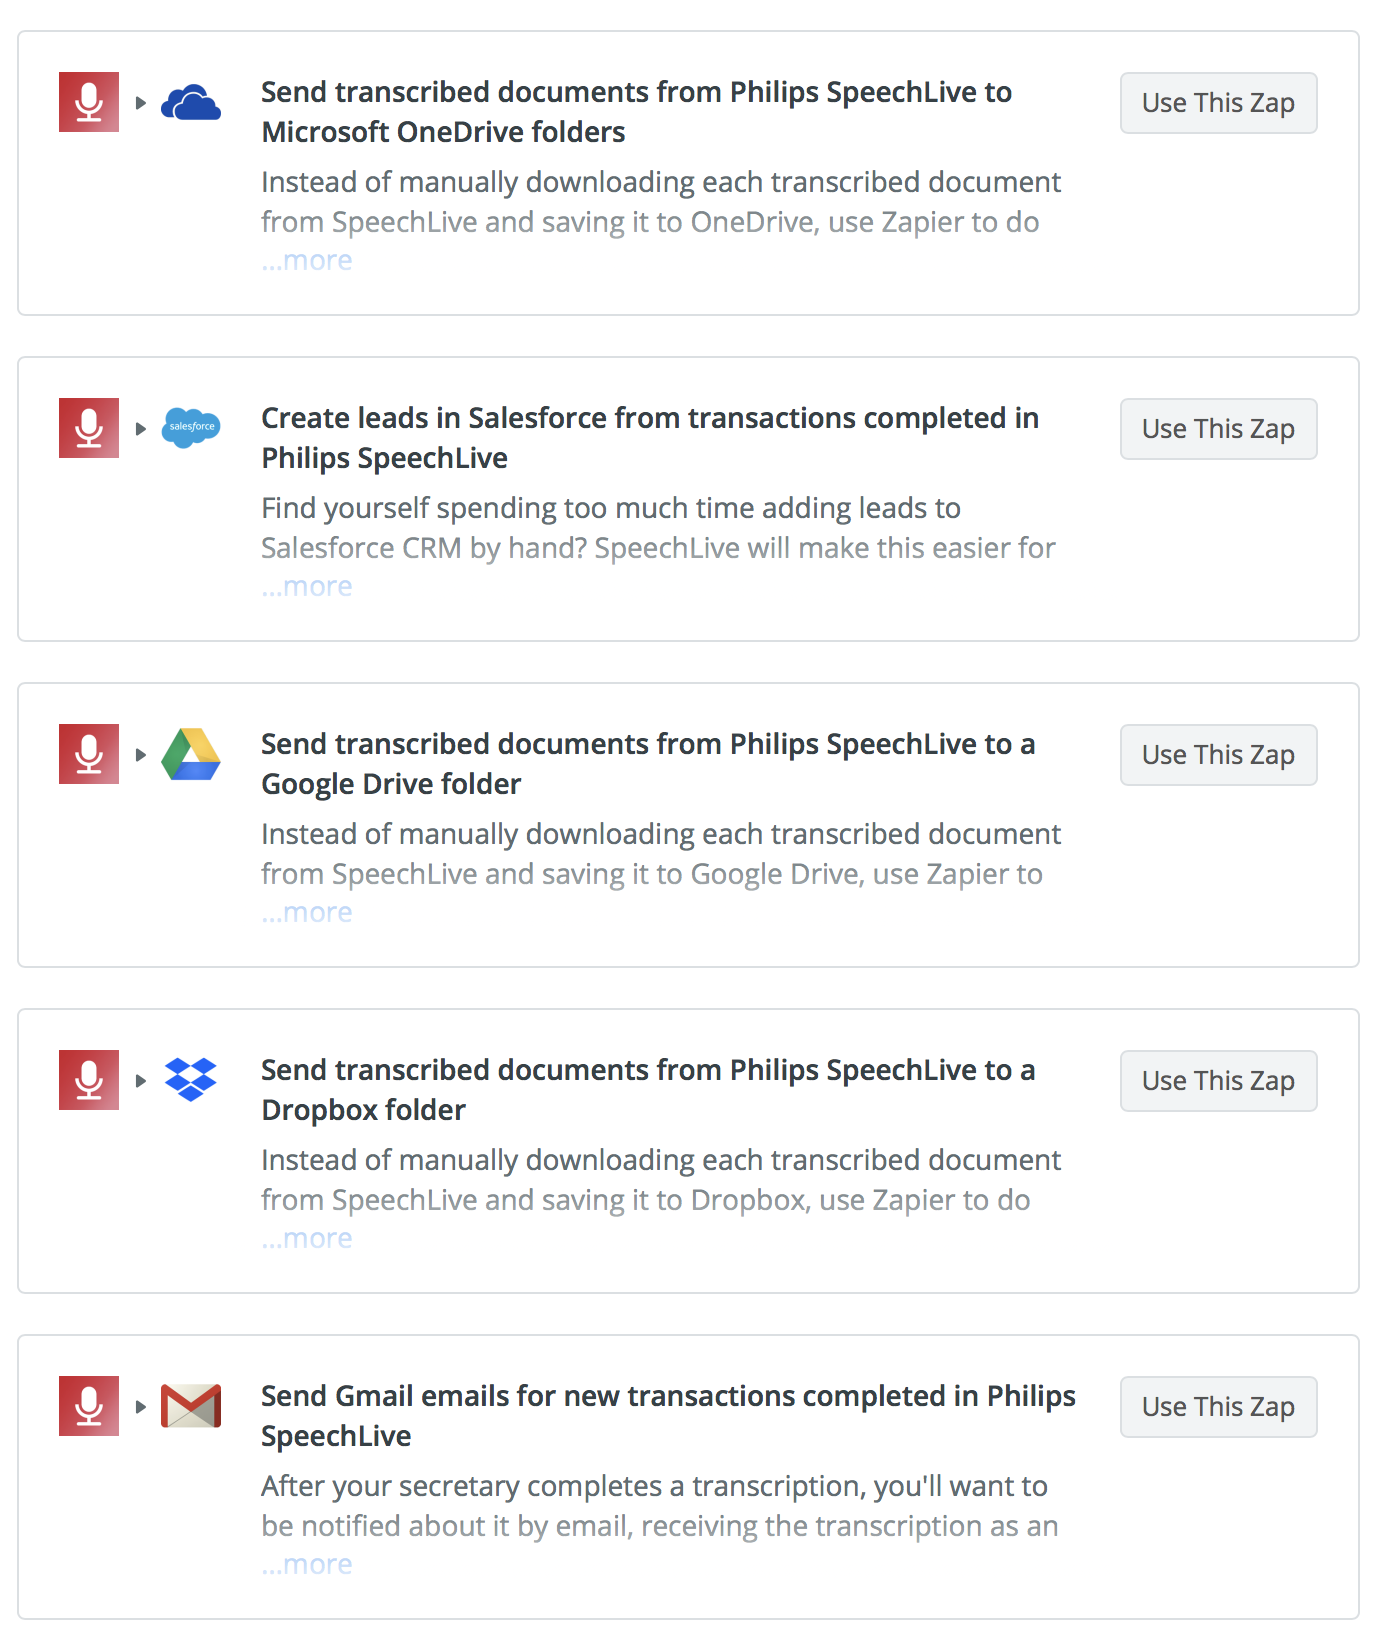
We are aware that we are just scratching the surface of Zapier & SpeechLive workflow possibilities. It is an extremely exciting time for voice technology "in the cloud", so rest assured we will be trying some of these out for ourselves over the coming weeks and will post any findings for you to look into and try out for yourselves.
Take a Free SpeechLive Trial Here










Leave a comment